The regular AT-cut crystal has a temperature variation that can be modeled by a cubic equation. Variations from the ideal angle produces the following curves centered around 25C.
AT - cut frequency-temperature characteristics.
If the temperature variation is small enough, then a regular AT-cut crystal might be good enough.
e.g. home with heater during the winter set to 21C and air conditioner set to 25C for the summer. The temperature variation is roughly 4C.
For a wide temperature range or lower temperature dependency, you might want to use a TCXO (Temperature compensated crystal oscillator).
There are a few ways of making an accurate clock out of an oscillator:
Use an external accurate clock source and/or resync. the time e.g. GPS or internet time
Try to adjust the clock frequency of the oscillator by changing the load capacitance. This is difficult and the adjustable range might not be enough.
Try to compensate for the tolerance by changing the frequency divider.
I am using the last approach as it is the least expensive and provide a finer repeatable adjustment than what is possible a trimmer capacitor. The CPU clock is divided down to generate IRQ for the software real time clock.
In my Timer project, I used a hardware timer set to overflow every 60,000. By changing this value, I can tweak the IRQ by ~ 1/60000 which should be good enough for +/-0.72 sec/day accuracy after calibration.
This time, I generate a 20Hz IRQ and further divide down the frequency to 10Hz for the RTC using a 24-bit Numerically Controlled Oscillator (NCO). The NCO allows for very fine frequency.adjustments.
The 3 lines NCO code is actually much simpler than the firmware that would be required to extend the hardware timer divider beyond 16 bits.
DDS Code
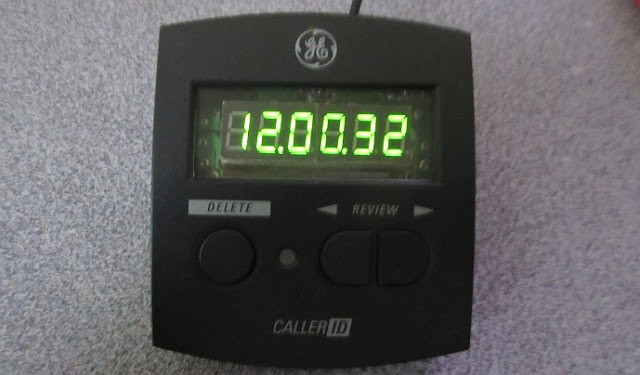
So far I have calibrated the clock by simply comparing when the clock changes vs https://time.is/ - whether it is faster or slow and by using a binary search algorithm to find the value. This doesn't require any additional coding or equipment, but it takes a bit of time.
The latest calibration is less than +/-1 sec/month after 7-8 turns of such adjustments. I measured 1 second difference after 4 weeks 6 days.
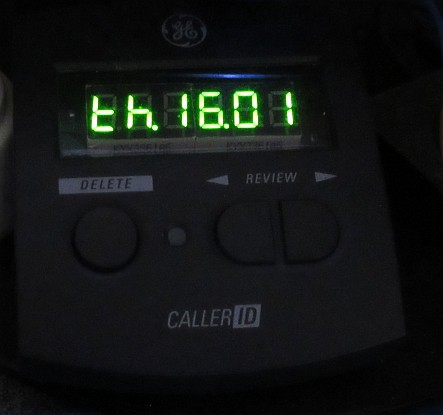
The arrows key switches between the time and date display. The date display uses a different format to distinguish the modes. The 7 segment LED can only show a limited set of characters and have to make the closest approximations.
e.g. Th(ursday) 16 Jan is shown below.
The user interface is still work in progress as the display is very limited. Here is how to set the time.
How to set time
Alternately, Hold the Menu for ~1 second to exit the setting mode.


No comments:
Post a Comment
Note: Only a member of this blog may post a comment.